


A new floor is only as good as what’s underneath it. That’s not a cliché – it’s the most common reason flooring installations fail. Tiles crack. Timber warps. Vinyl lifts at the edges. Epoxy peels. In almost every case, the problem traces back to one thing: the concrete subfloor wasn’t properly prepared before the new flooring went down.
Whether you’re renovating a Melbourne home, fitting out a garage, or refreshing a commercial space, the prep work matters more than most people realise. Here’s a practical checklist of everything that needs to happen before any new flooring is installed over concrete.
1. Inspect the Slab
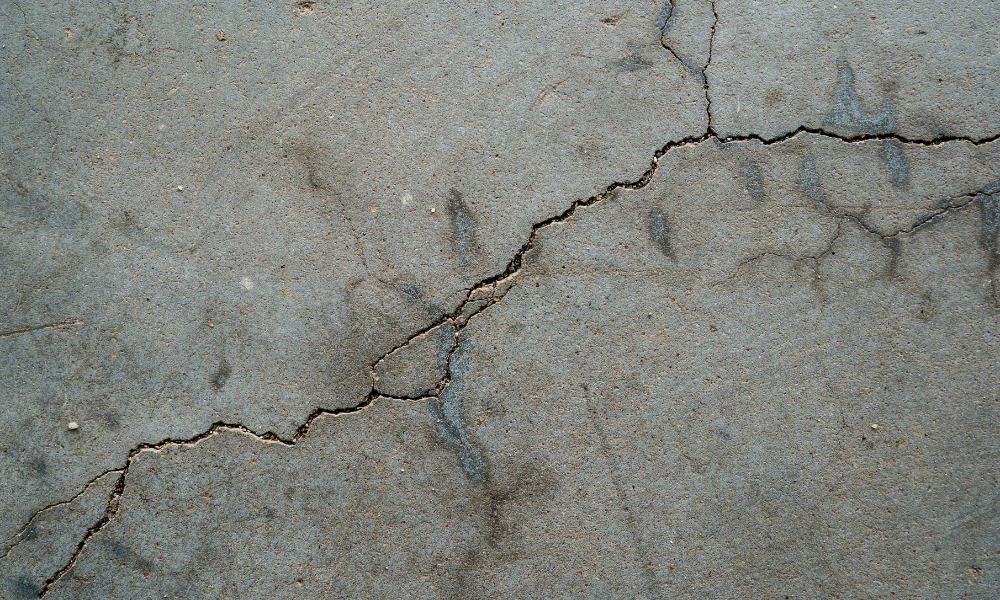
Before anything else, take a proper look at the condition of the concrete. You’re looking for:
- Cracks – hairline or structural
- Spalling or flaking surface concrete
- Efflorescence – the white powdery residue that signals moisture movement through the slab
- Staining from oil, chemicals, or previous adhesives
- Uneven or sunken sections
- Any existing coatings, sealers, or old adhesive residue
This initial inspection determines everything that follows. A slab in good structural condition with minor surface issues needs a very different preparation approach to one with active moisture problems or significant cracking. If you’re unsure what you’re looking at, getting a professional assessment at this stage saves considerable time and cost further down the track.
2. Repair Cracks and Surface Damage
Any cracks, holes, or spalling must be repaired before new flooring is installed – full stop. Installing over damaged concrete doesn’t hide the problem; it transfers it directly to the new surface above.
Hairline cracks can often be filled with a suitable concrete patching compound. Larger or structural cracks require a more considered approach – epoxy injection fills and bonds the crack from within, restoring structural integrity rather than just covering the surface. Spalling areas need to be cut back to sound concrete, cleaned, and patched before any further preparation takes place.
At Spraycrete Design, concrete crack repair and patch work is often the first step before any resurfacing or floor coating – because no finish, however good, performs well over a compromised substrate.
3. Test for Moisture
This is the step that gets skipped most often – and it’s the one that causes the most expensive failures.
Moisture in a concrete slab is the single biggest cause of flooring adhesive failure, delamination, and mould growth beneath new floor coverings. Concrete holds moisture long after it appears dry on the surface, and in Melbourne’s variable climate, slabs built on ground level or in shaded areas can retain significant moisture even in older buildings.
The two most commonly used methods are the Relative Humidity (RH) in-slab test and the Calcium Chloride test, which measures the moisture vapour emission rate from the surface. Most flooring manufacturers specify a maximum acceptable moisture level – and installing outside that range can void the product warranty entirely.
If elevated moisture is detected, a vapour barrier or moisture-tolerant primer should be applied before proceeding. This is a non-negotiable step, not an optional upgrade.
4. Grind and Profile the Surface
Once cracks are repaired and moisture is under control, the surface needs to be mechanically prepared. This means grinding.
Concrete grinding removes laitance – the weak, dusty surface layer that forms as concrete cures – along with any old adhesives, paint, sealers, or coatings that would prevent a new floor from bonding correctly. It also opens the pores of the concrete, giving adhesives and coatings a proper surface to grip.
The level of grinding required depends on the condition of the slab and the flooring being installed. A light grind is typically sufficient for tiles or floating floors. Epoxy coatings and bonded overlays require a more aggressive profile to achieve adequate adhesion.
Safe Work Australia notes that concrete grinding generates silica dust, which is a serious respiratory hazard. Professional contractors use industrial dust extraction equipment to manage this safely – another reason this stage of preparation is best left to experienced operators rather than a DIY approach.
5. Level the Floor
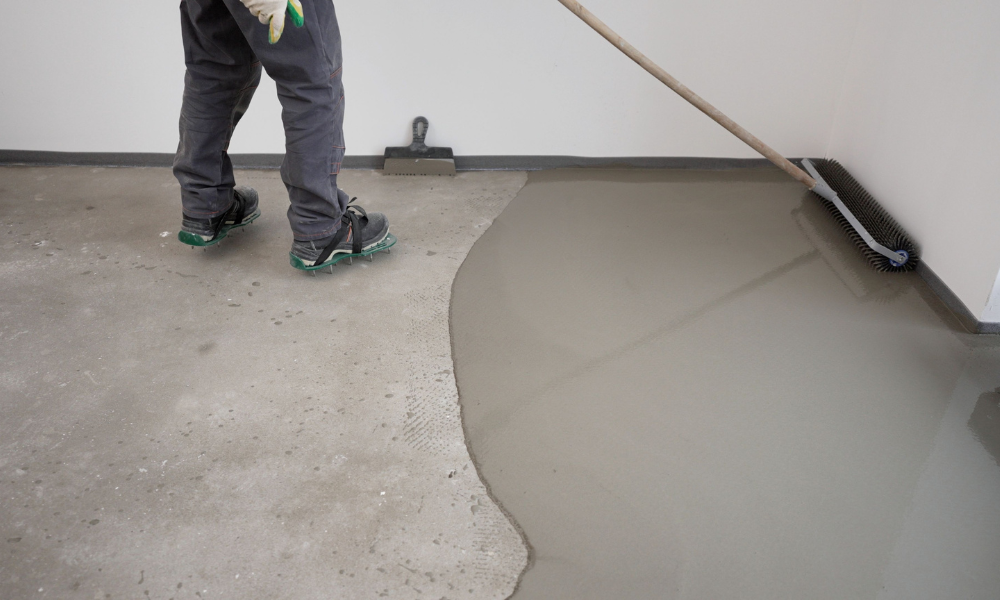
A flat subfloor is essential. Australian Standard AS 1884 specifies the flatness tolerances for resilient floor coverings – and most flooring manufacturers have their own requirements on top of that. As a general guide, the floor should not deviate more than 3mm over a 1.8 metre span.
Where low spots exist, a self-levelling compound is applied to bring the surface up to tolerance. Where high spots remain after grinding, additional passes correct them. Getting this right matters particularly for rigid flooring products like tiles and hardwood, where even minor unevenness creates pressure points that lead to cracking or movement over time.
Spraycrete Design’s floor levelling service addresses both issues – providing a flat, consistent base that meets manufacturer tolerances before any flooring product is laid.
6. Clean the Surface Thoroughly
The final step before installation is a thorough clean. After grinding and levelling, the surface will carry fine concrete dust that, if left behind, creates a weak layer between the slab and the adhesive or coating above it.
Vacuum the entire area, then wipe down with a damp mop and allow to dry completely. Check corners and edges where dust accumulates. Any remaining adhesive residue, oil, or chemical contamination should be addressed at this stage – not after the floor has already gone down.
One Last Check Before You Start
Once all six steps are complete, do a final walkthrough before the flooring crew arrives. Run your hand across the surface – it should feel clean, consistent, and slightly rough. Pour a small amount of water onto a few spots. It should darken and absorb into the concrete quickly. If it beads, the surface may still have a sealer or contaminant that needs to be addressed.
A properly prepared concrete subfloor takes time and the right equipment to do correctly. For Melbourne homeowners and builders looking to get it right the first time, Spraycrete Design provides concrete repair, levelling, resurfacing, and preparation services across residential and commercial projects.Call 1300 680 465 or visit spraycretedesign.com.au for a free quote.